|
A one part stencil is basically the same as the kind you can buy at a craft store, but by making your own you are not limited to any particular style or aesthetic... A multiple color stencil, while more complex, is still a relatively low-tech process. |
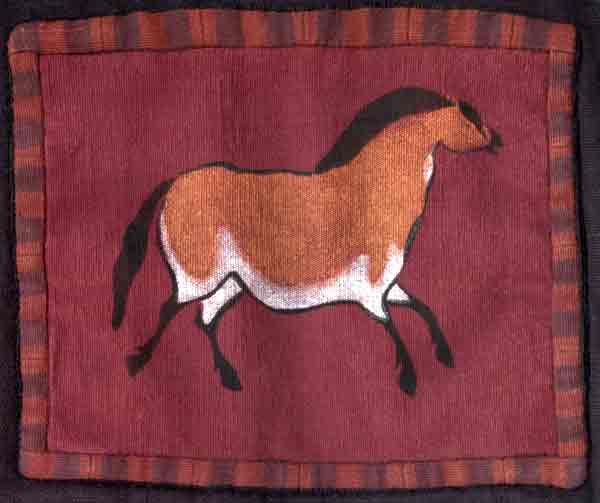 This three color stencil is part of the embellishment on a black linen summer jacket |
|
|
|
1. First I trace onto a piece of acetate the overall design, then mark a few dots at various places around the edges, not covered by the design. (these dots are used to line up the different colors of the stencil) cut out the dots only on this piece. Then put the acetate back on top of your design. 2. On another piece of acetate, trace the parts of the design that you want to be in color #1, and trace the location of the dots as well. Cut out the color #1 parts, but do not cut out the dots, just leave them marked on your sheet. then tape the color #1 sheet on top of your design outline and original design. 3. Take another piece of acetate and do the same thing with where you want color #2, and so forth. (five colors is as many as I have done) what you should end up with is a stack of stencil acetates that combine to form your total design, all marked with "dots" in the same place, and one acetate with the "whole" design, which has the dots cut out. Then comes the messy part... painting! First I use the whole design acetate to locate where on my fabric or garment I want the design to go, then rub chalk through the "dots" to leave locator marks on my project. Then I carefully line up the stencil #1 with those marks, and dab the appropriate color fabric paint through the stencil. Let that color dry, then repeat the process as many times as needed to complete your design. Then I brush away the chalk locator marks, and heat-set the fabric paint. |
back to Custom Sewing